A fantasy author is to a map-building website as a bumble bee is to a flower; both completing a necessary step in an important process. When creating a story many writers imagine their world with characters already roped into fascinating plot lines.
How do you bring the world you have growing inside your head to life?
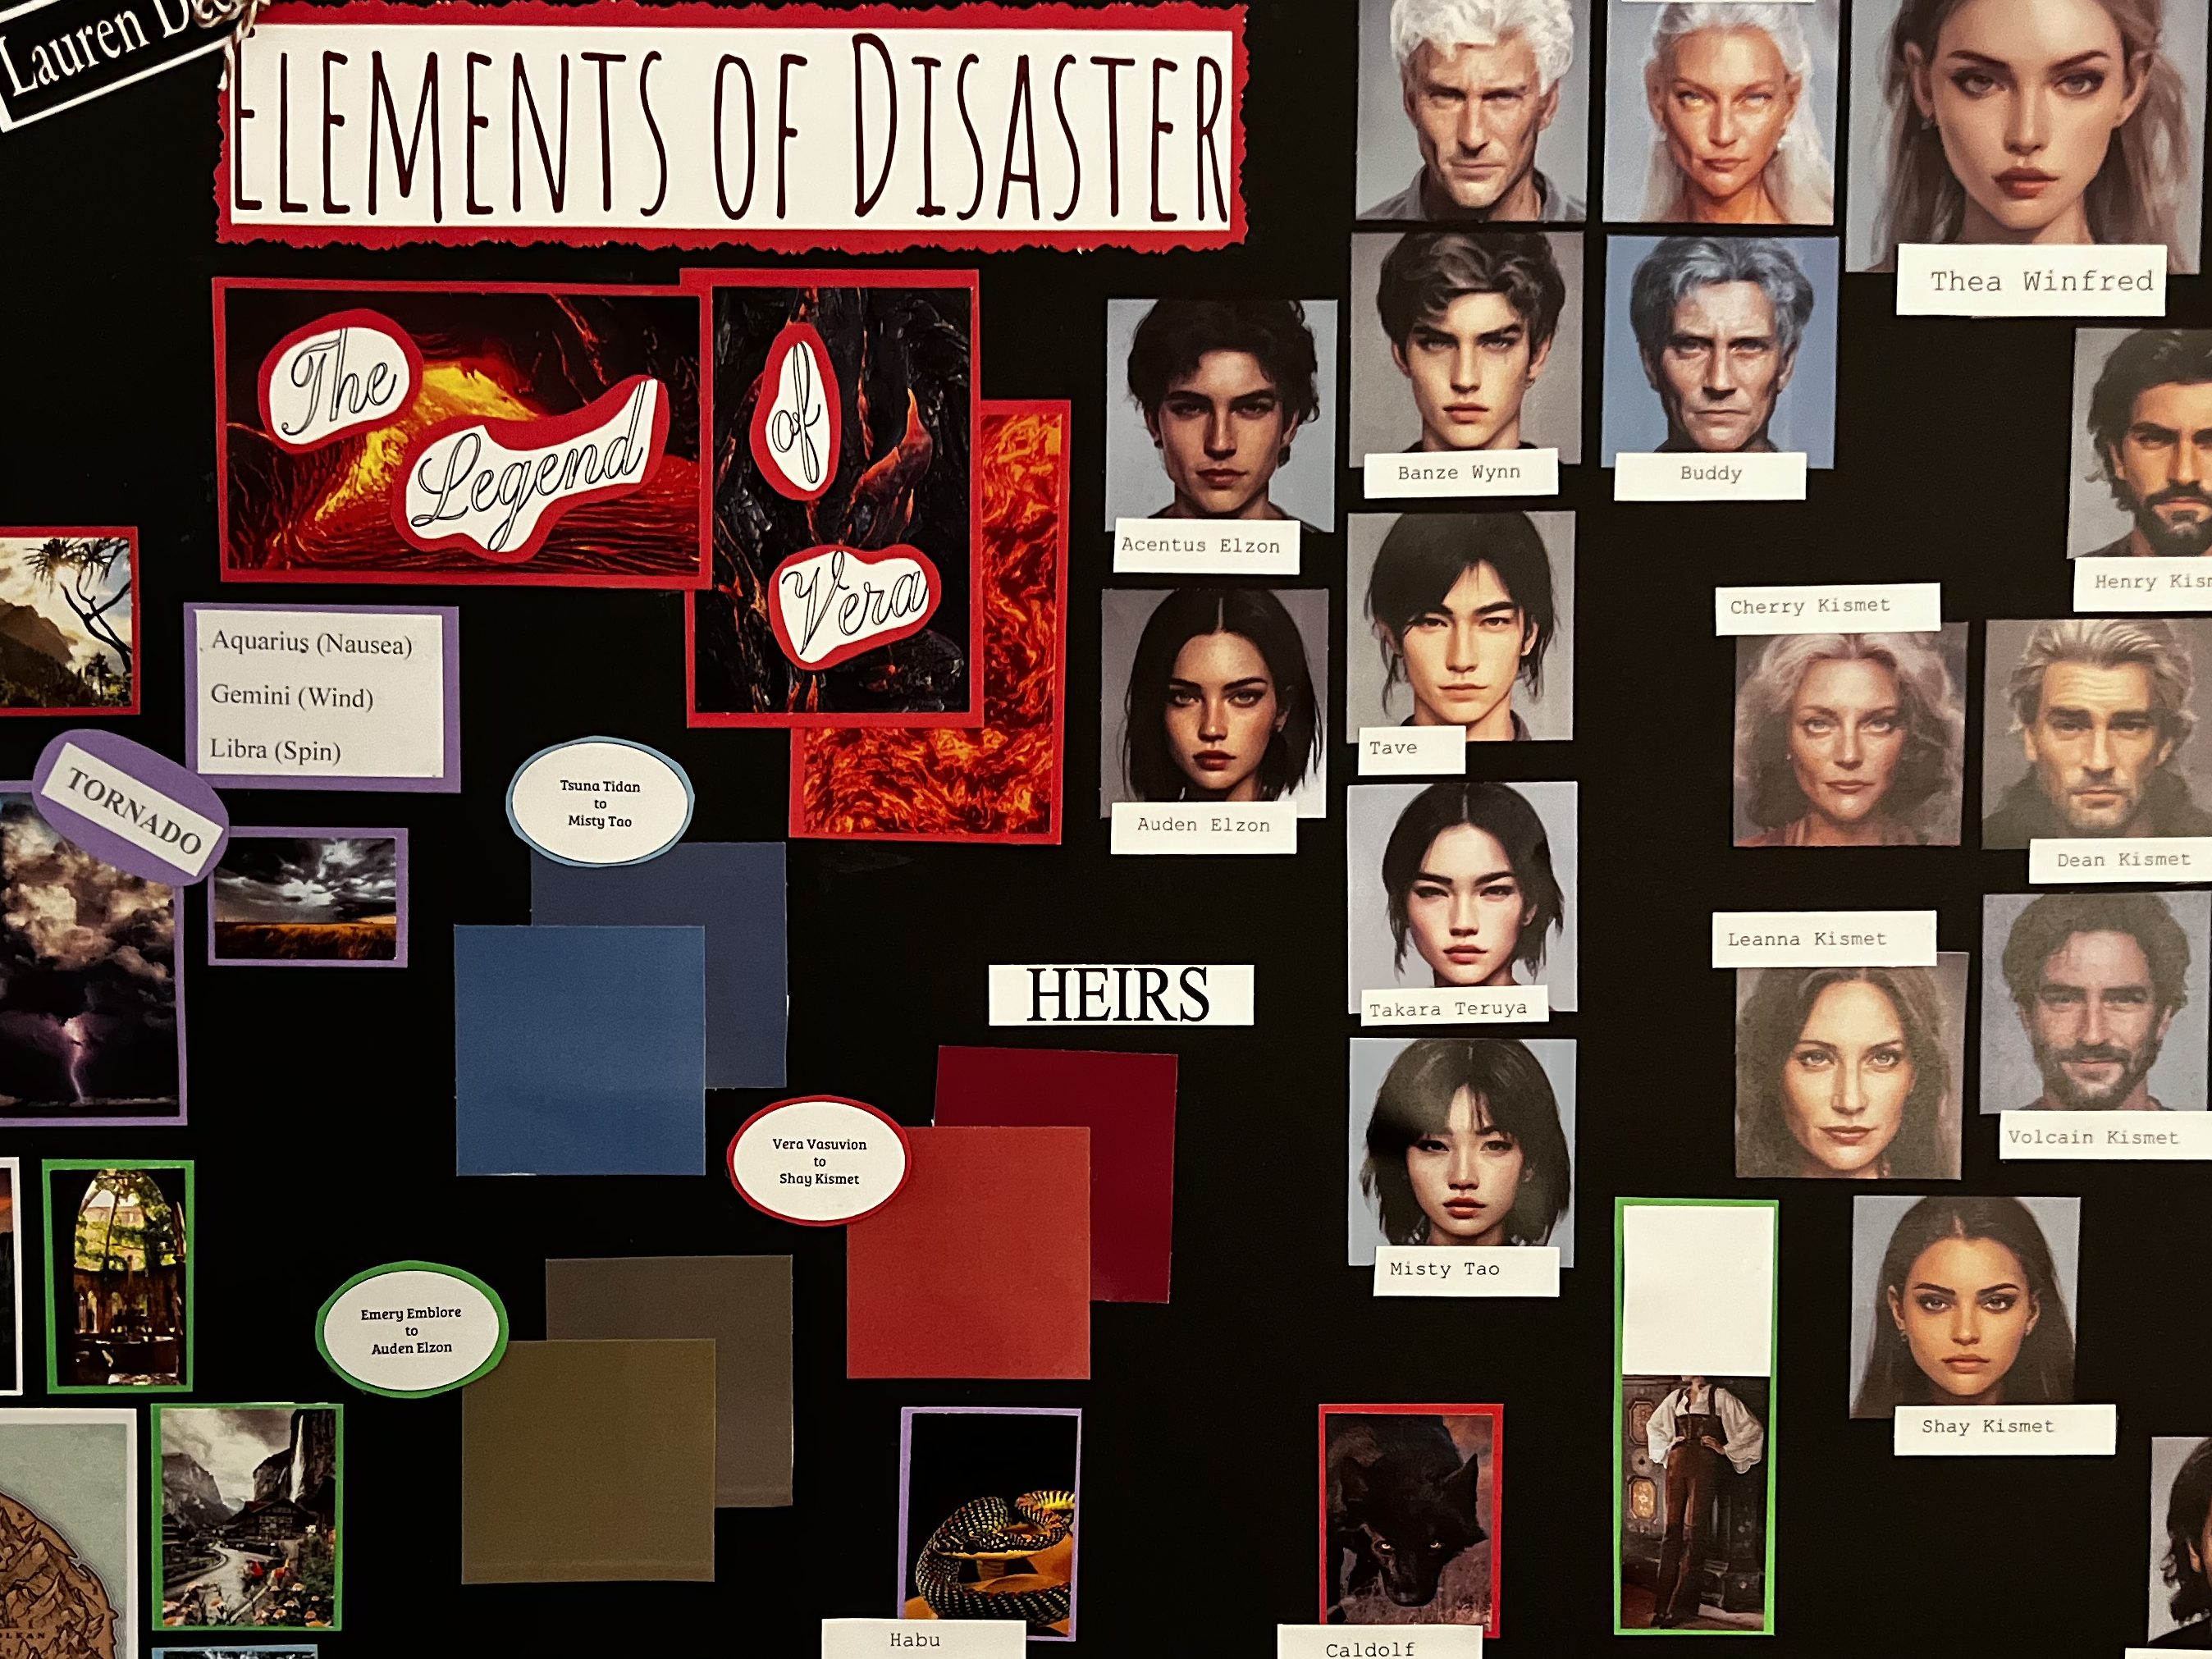
The best way I have found is to start by building visuals. Poster boards, drawings, photography, nature exploration, or sticky notes on everything.
I spent years working on my current novel. In other words, the map in my book looks nothing like the first map I created. My fantasy world, characters, and editing skills have grown with me and because of that, I had to make changes to my map many times.
The hand-drawn, time-consuming map that sat on my desk was a beast I had no joy in tackling. My nightmares consisted of trying (and failing) to fix my black ink map for months.
After reading articles about fantasy maps and buying a book on world-building, I knew I needed an ever-changing platform for my map building.
This research led me to Inkarnate, a fantasy map website. Upon exploring the home page and seeing examples of creator’s maps, I became quickly overwhelmed with the unknown. I had no idea how to work the website and the thought of watching hours of tutorials felt daunting. With no experience and no expert to guide me, I decided to dive head first into the deep end.

Looking back I can confidently say I do not recommend this. I started a free account with the plan to cancel my subscription before they charged my card (as so many of us do). Within twenty minutes I shut my computer and decided I would draw my dreaded map once more. I’m positive you can guess where this is going….my third try drawing a compass rose by hand and I went back to my laptop to explore once more.
Still, I felt confident I did not need a guide and would figure the website out without help. Hours of dabbling in the create section and playing with buttons, I had a map. Was this a good map worthy of a precious page in my novel? No, in fact, it is laughable how bad my first map on Inkarnate looked.
The first, second, and third tries went about the same as the first. Fourth try and I felt good about not only the website but my map and its contents. The reason I am telling you all of this is not to deter you from Inkarnate. I want to inspire you to try.
If you are also an anti-tutorial, figure-it-out-yourself person, Inkarnate is for you. It is user-friendly, high-quality, and has an active online community. Plus, it’s only $5.00 a month and if you’re anything like me that is worth the price of your sanity.
Like my maps? Check out the book that goes along with them!
Keep reading for a beginner’s beginner guide to building a fantasy map.
Step 1: Head to Inkarnate
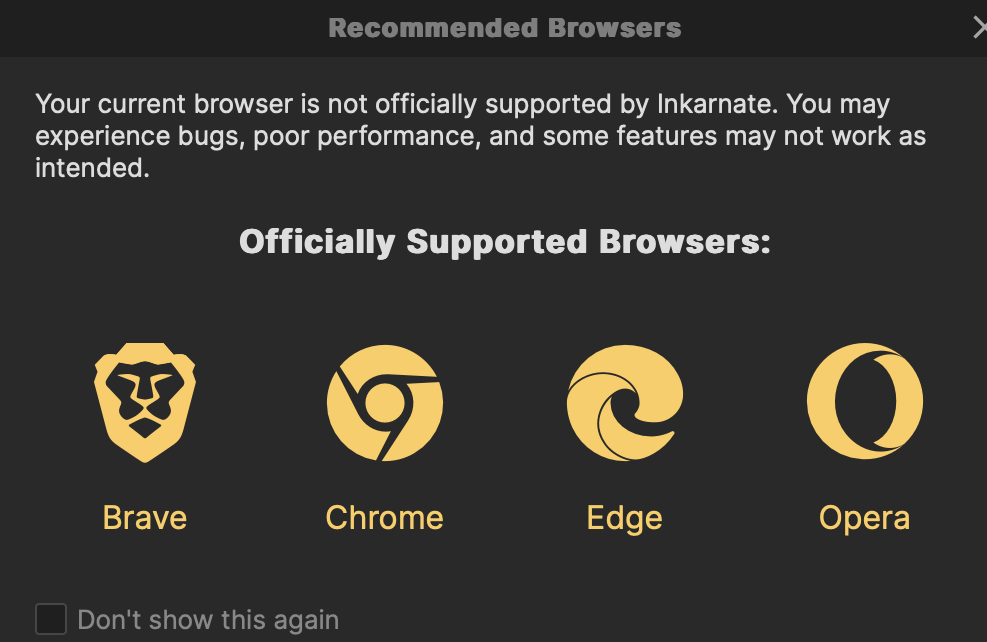
Get yourself to the website and create an account. You will not be able to make a map without creating an account. The recommended browsers are Brave, Chrome, Edge, and Opera. You can make a free account and not have to cancel any subscriptions. The map-building is significantly less fun without a subscription, as most things in life are these days.
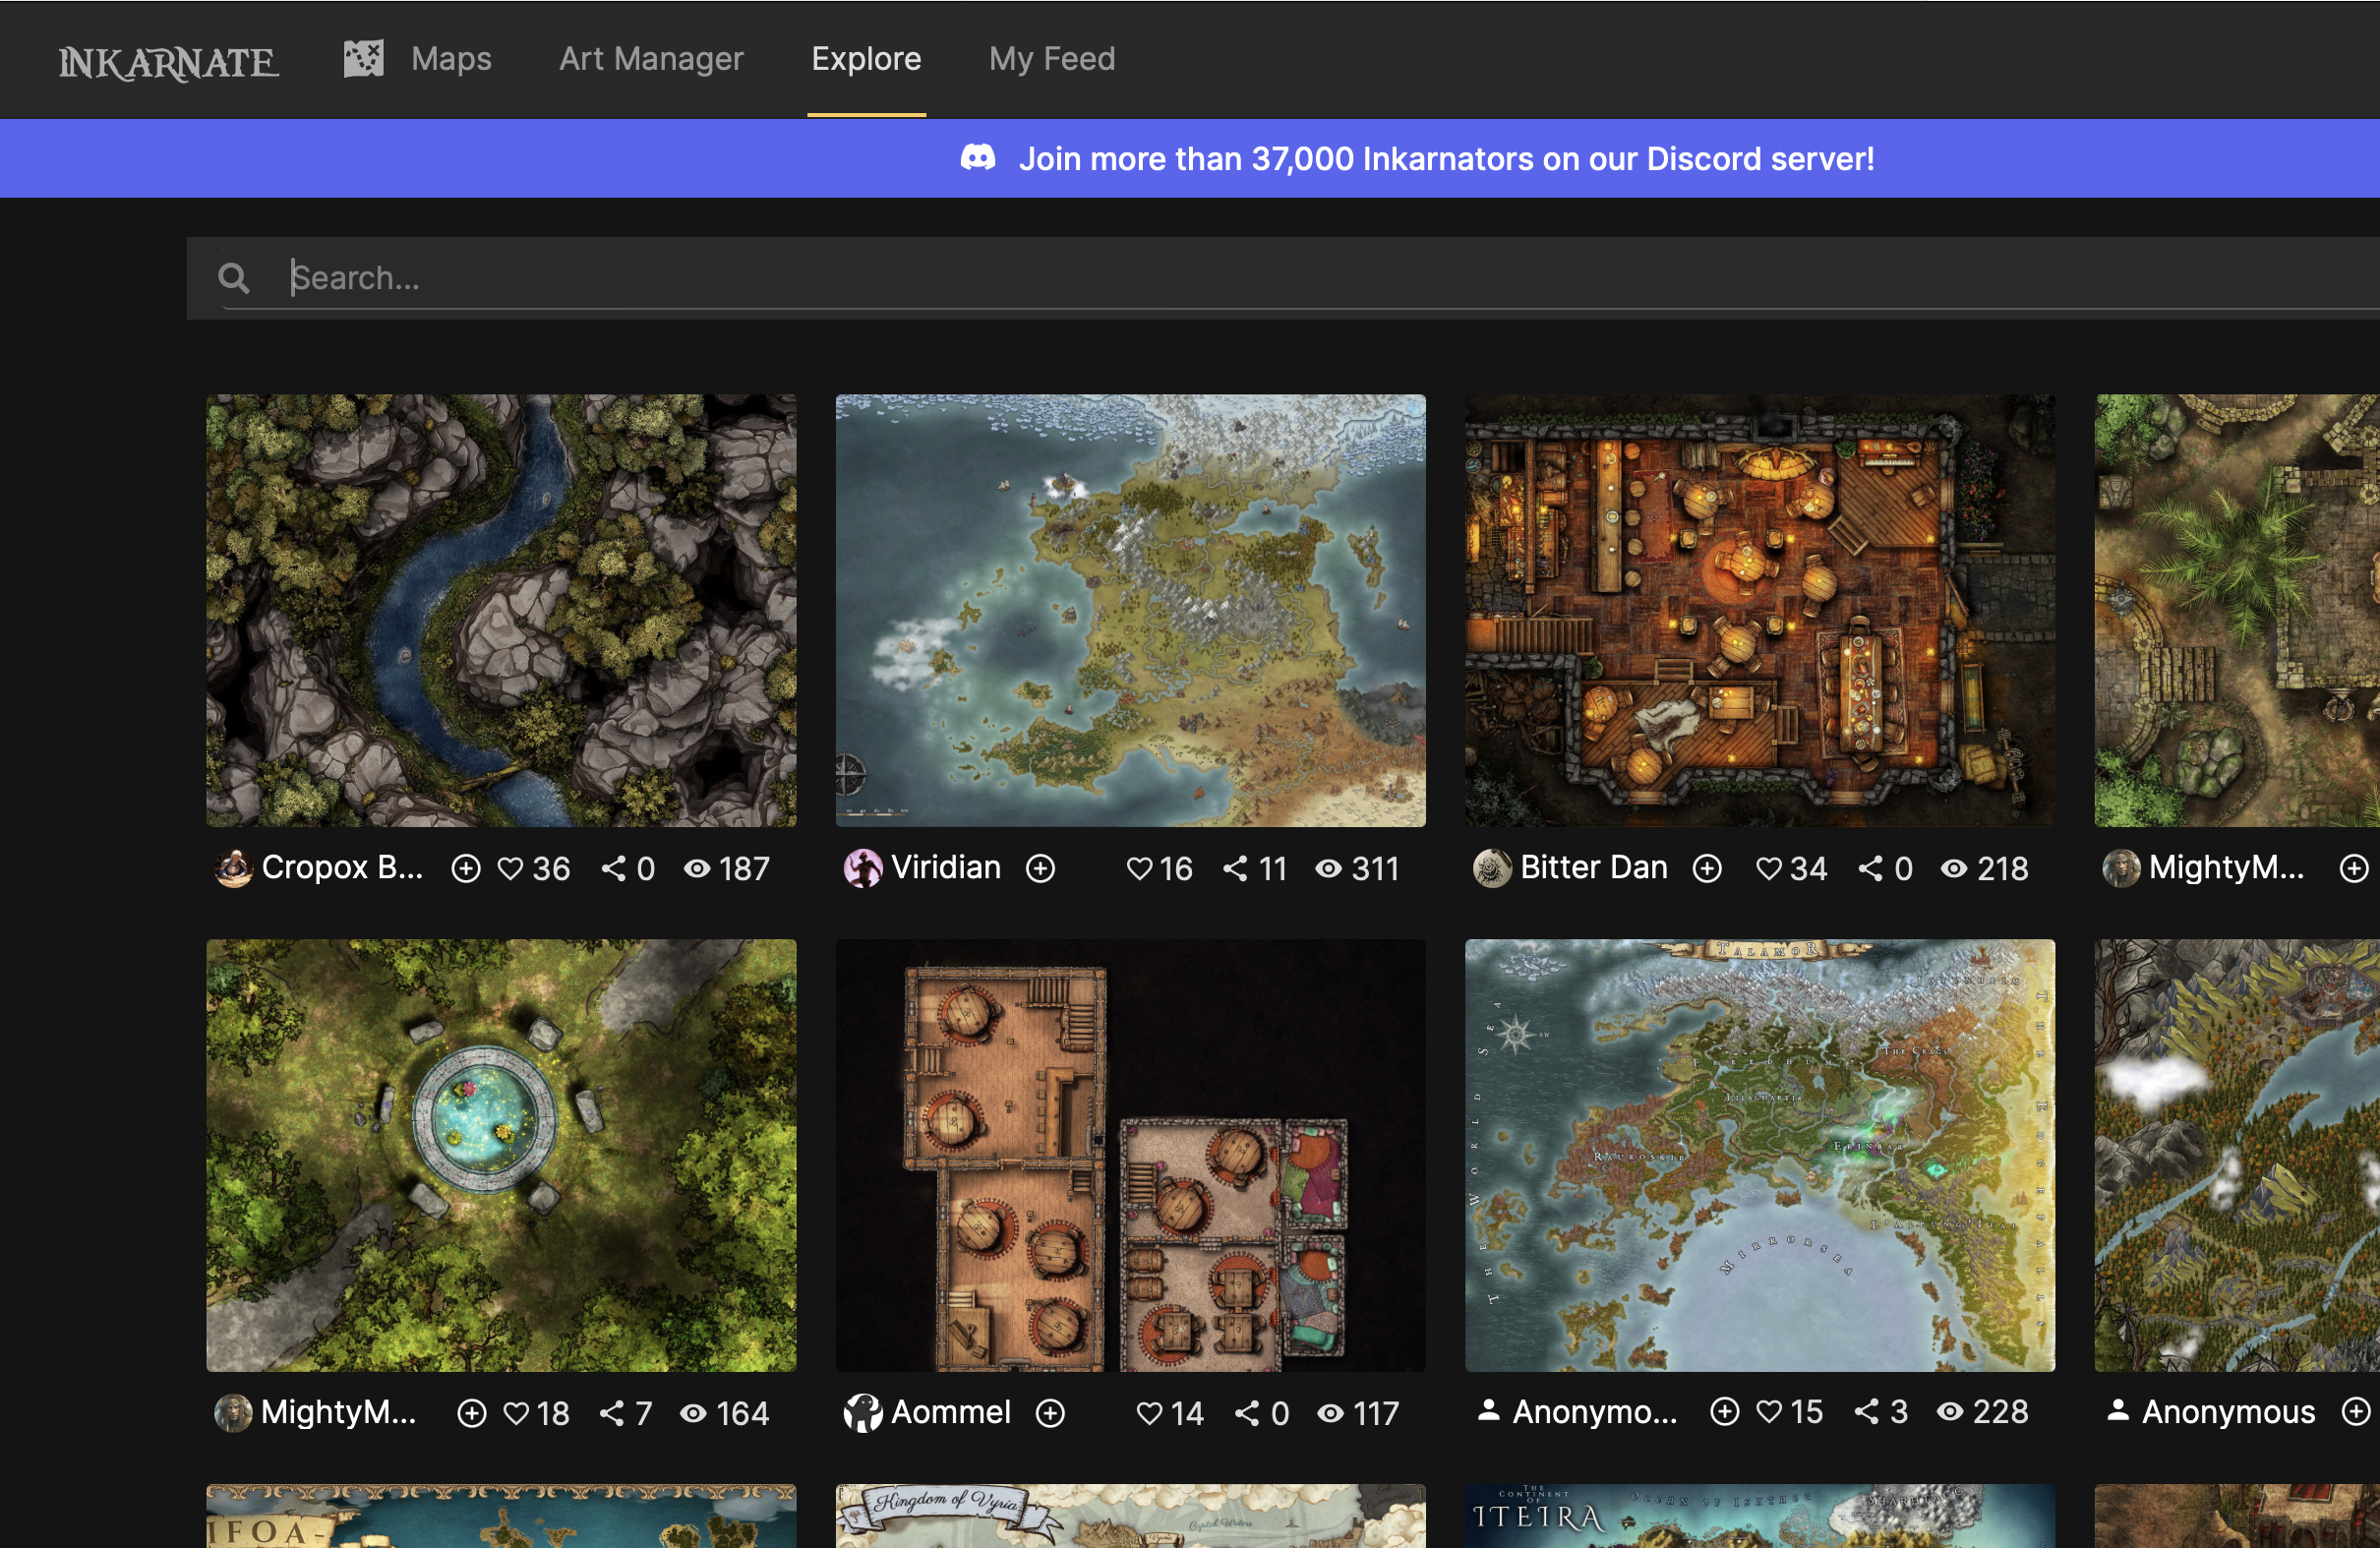
Step 2: Explore Lightly
I say this with love, do not over-explore as you will end up down a rabbit-hole of amazing map artists and designers. Your skills are not theirs and your map will (definitely) not look that way without tutorials or serious time put into the website.
Step 3: Click ‘Create New Map’

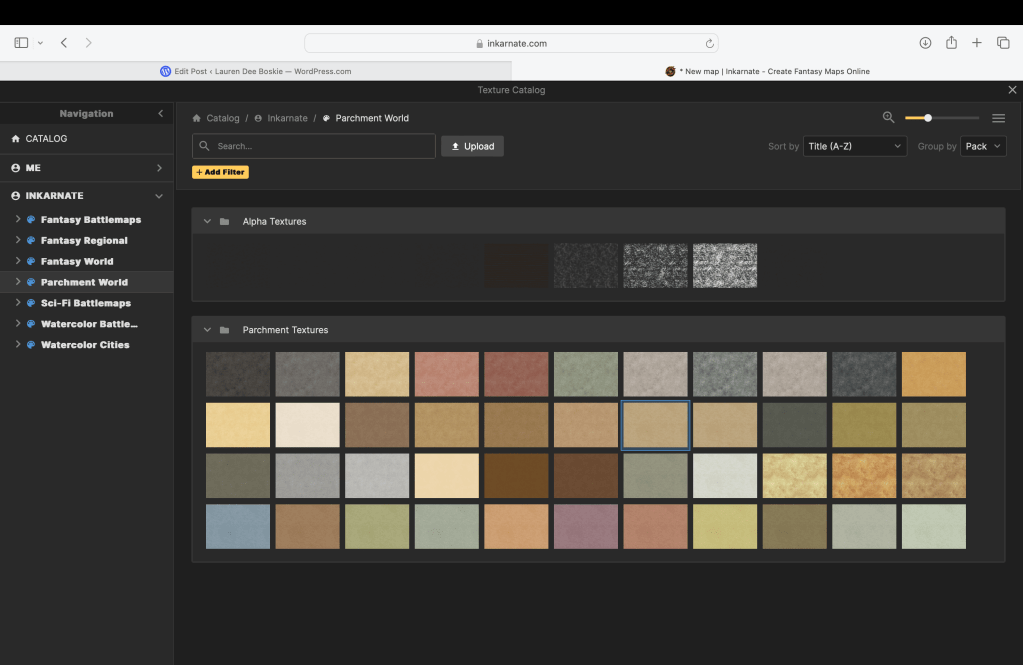
Step 4: Find a Style
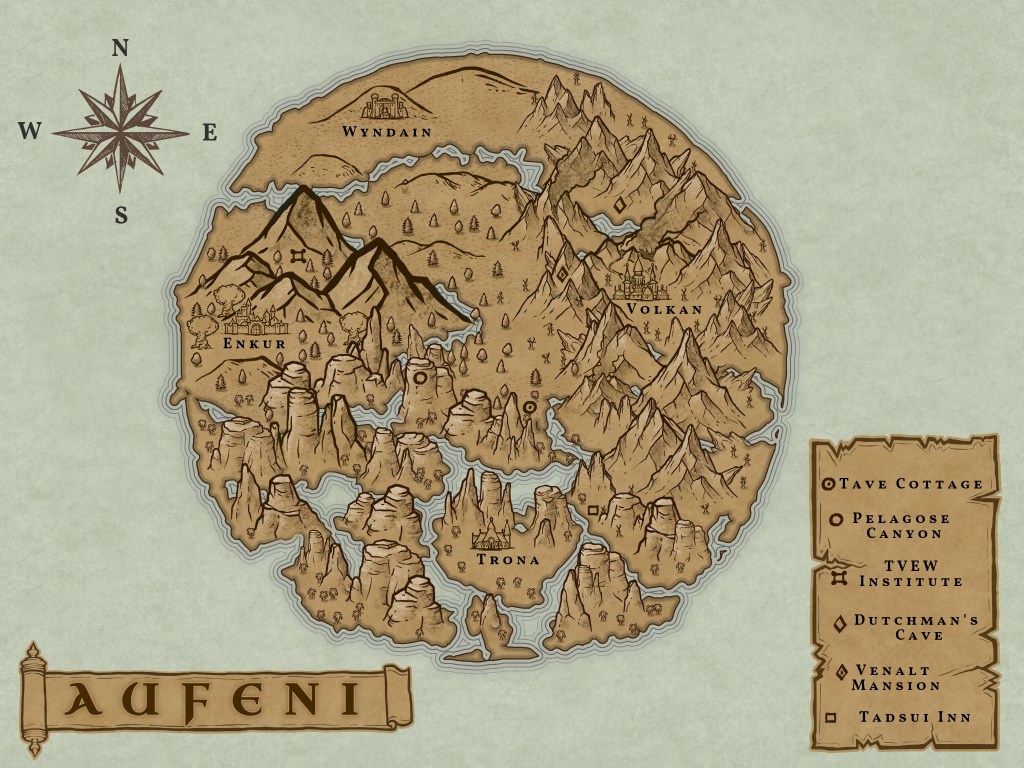
As a parchment paper fan, I commonly use the style in my map building. These are the options if you pay the $5.00 fee for a month of use. If you are a free-user you are more limited.
- Fantasy Battle maps (overhead style, interior)
- Fantasy World (large scale continents)
- Watercolor Cities (colorful large settlements)
- Fantasy Regional (highest detail)
- Sci-Fi Battle maps (futuristic vehicles/machinery)
- Watercolor Battle maps (colorful, clear linework)
- Parchment World (aged hand-drawn)
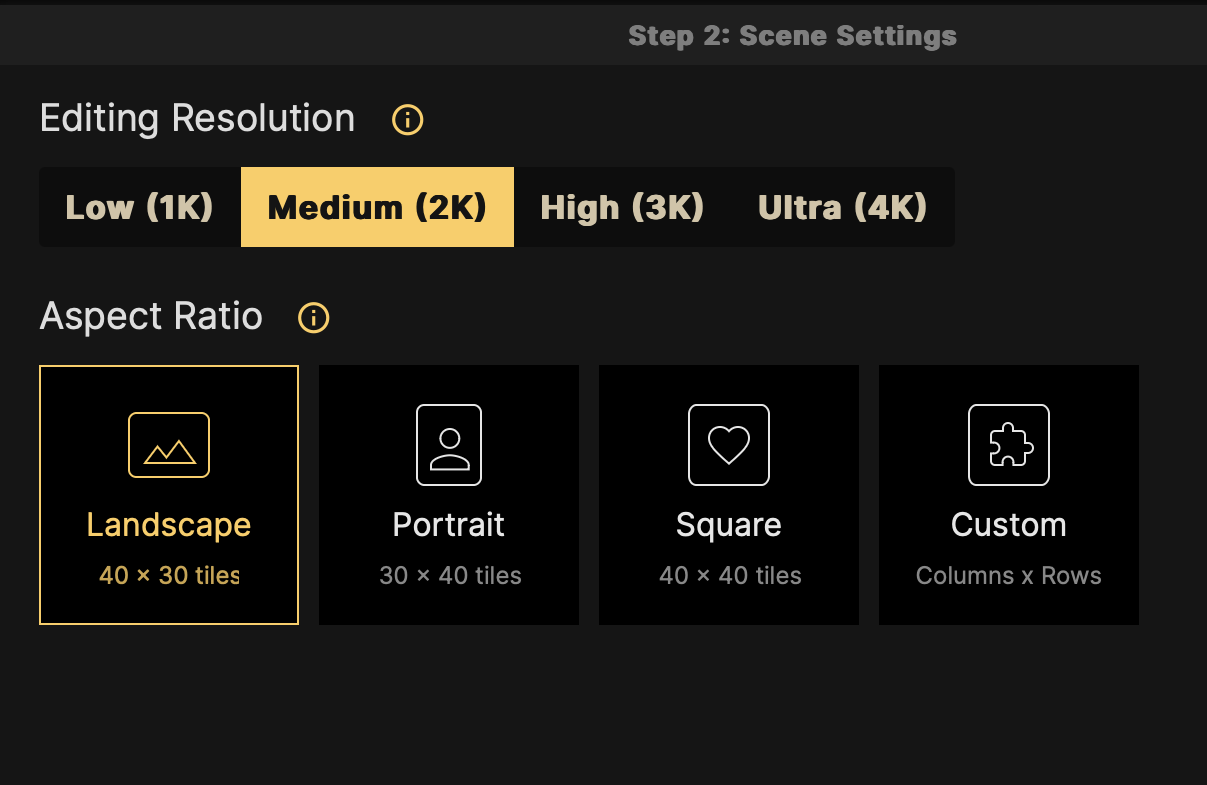
Step 5: Choose Resolution and Ratio
As someone that had practically no idea what resolution or ratio meant for my fantasy map, I went to google to determine what would be best for each. Turns out, the best is what is best for you and your needs. In my case, I needed a map to look at while editing my debut novel and that meant large and clear visuals. I chose Medium (2k) and Landscape.
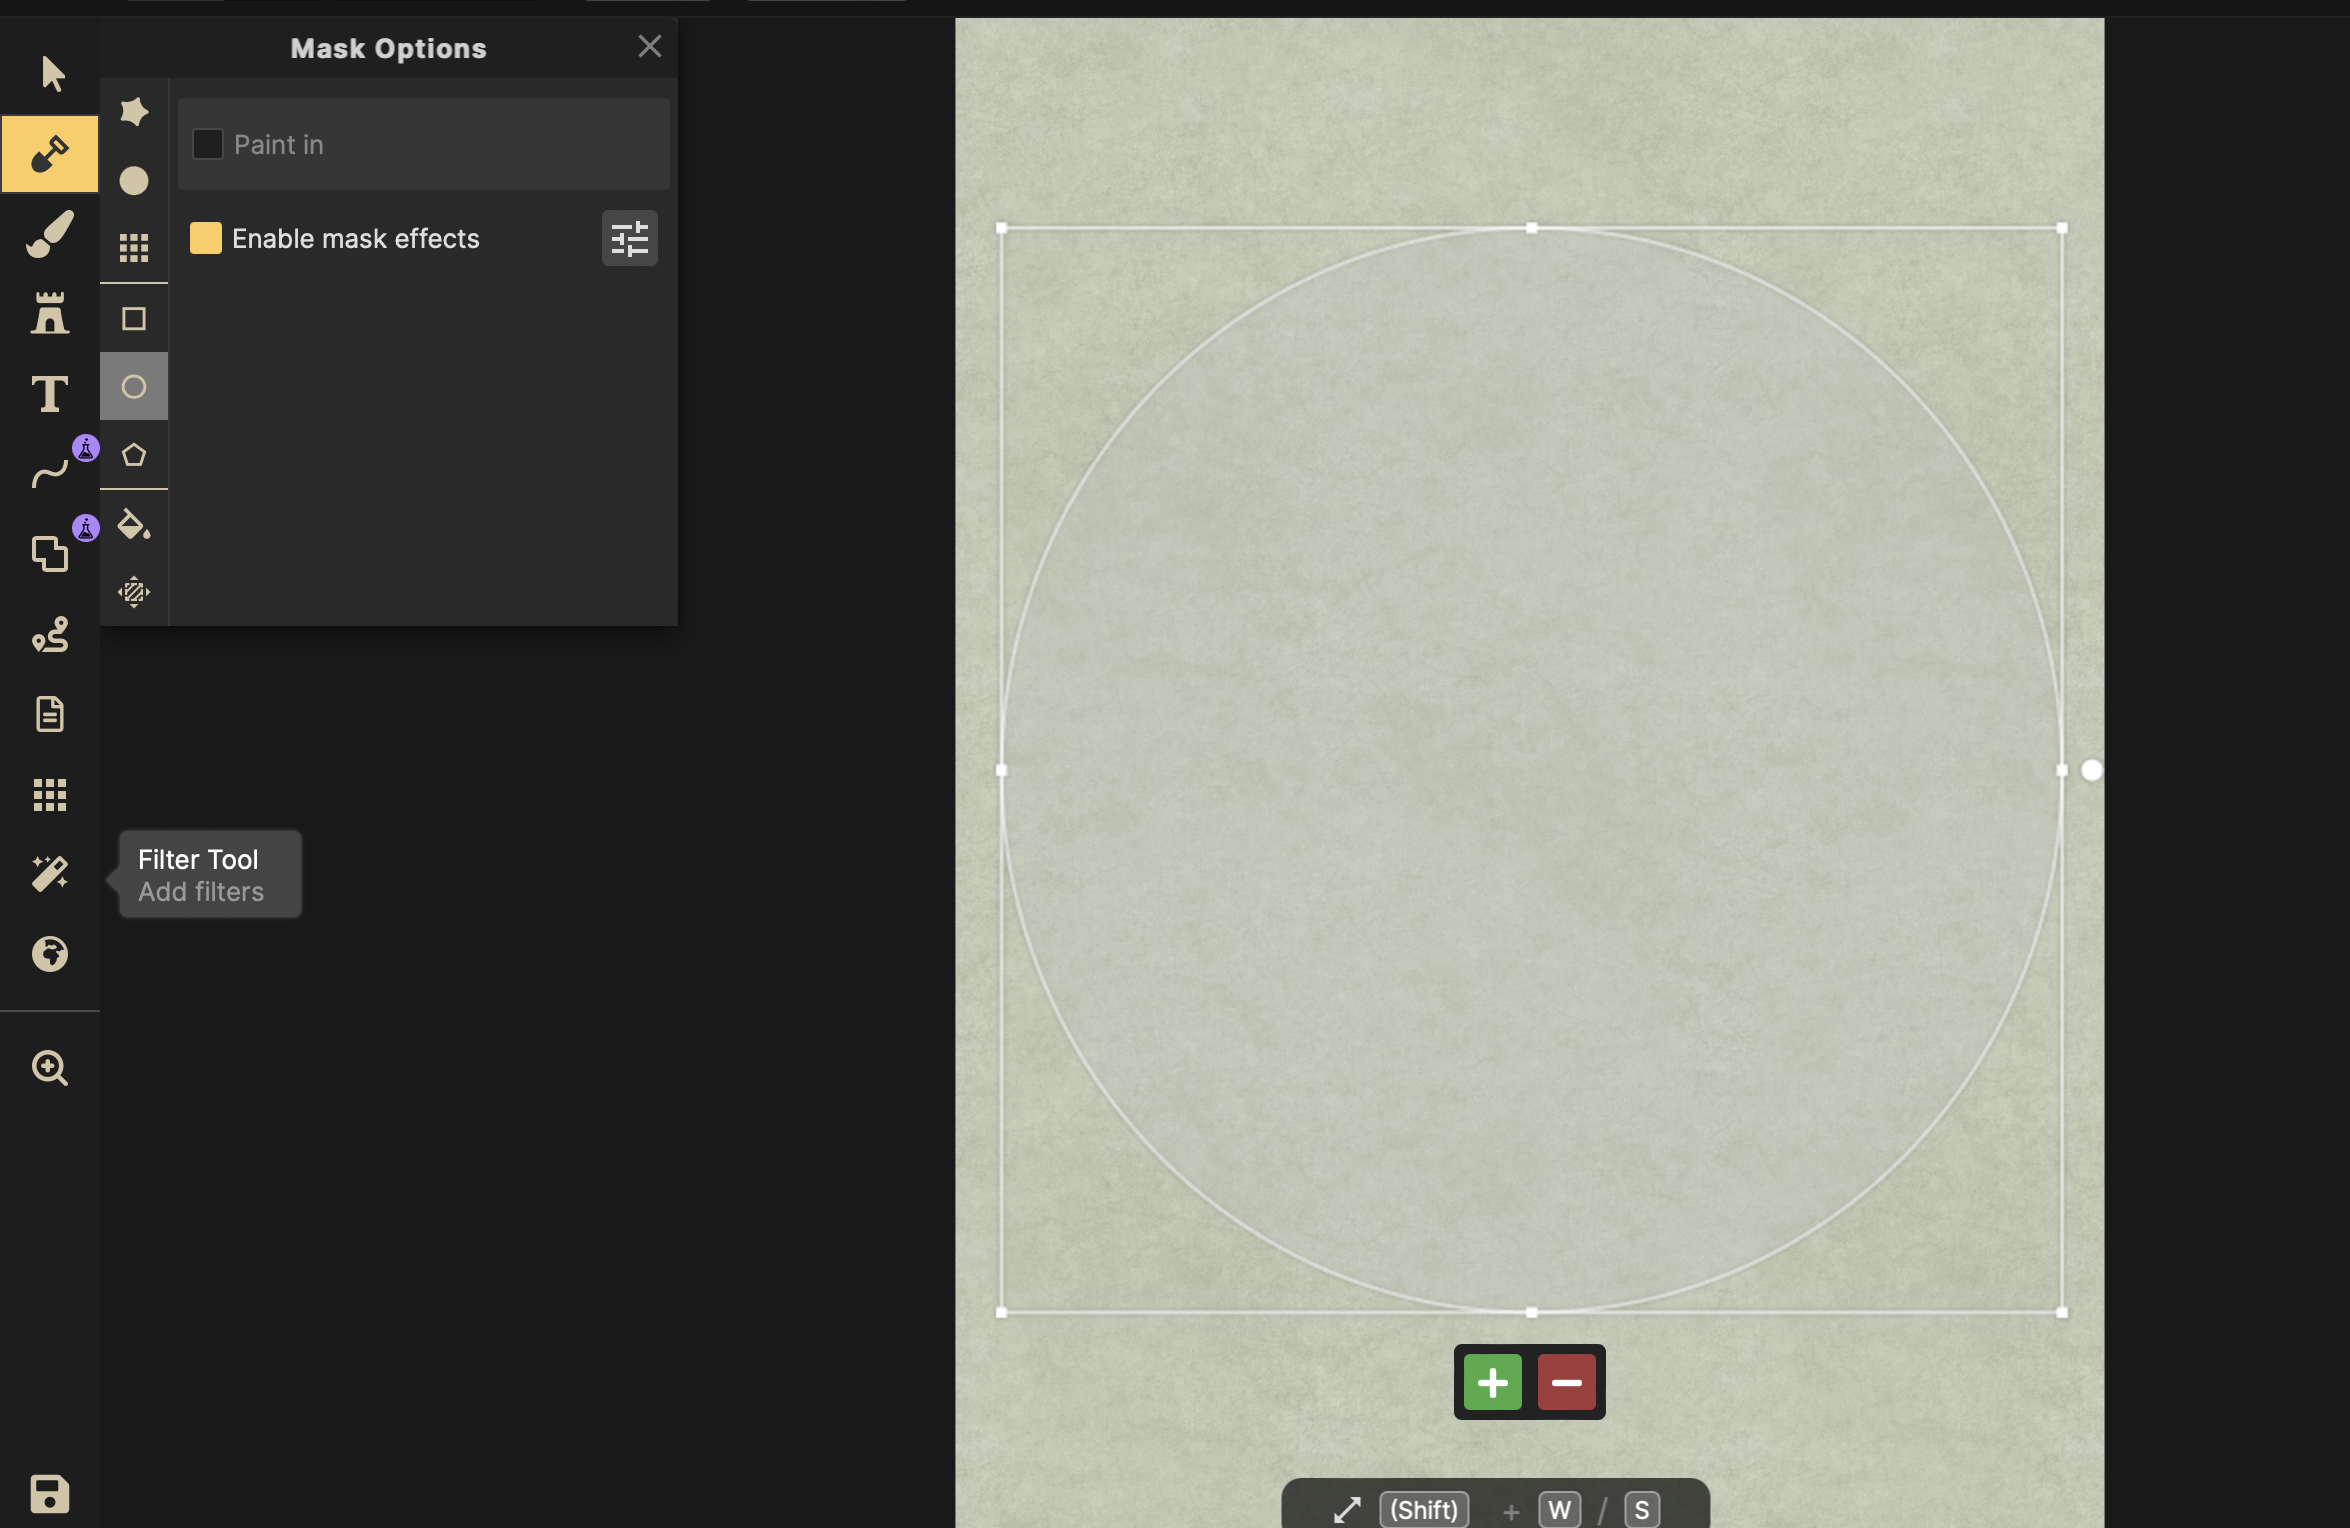
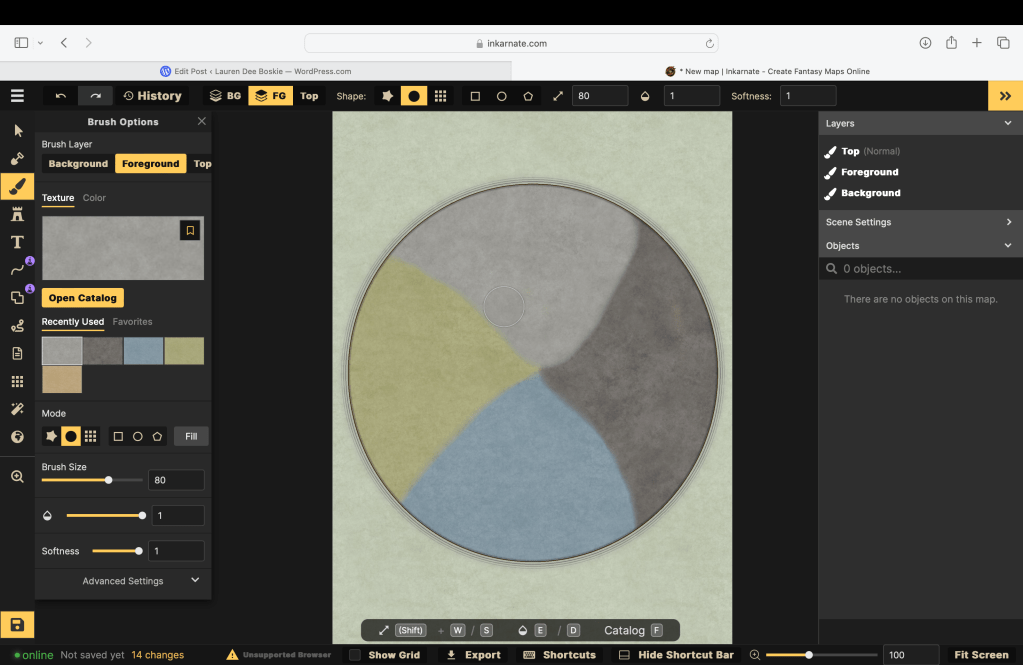
Step 6: Draw a World Shape
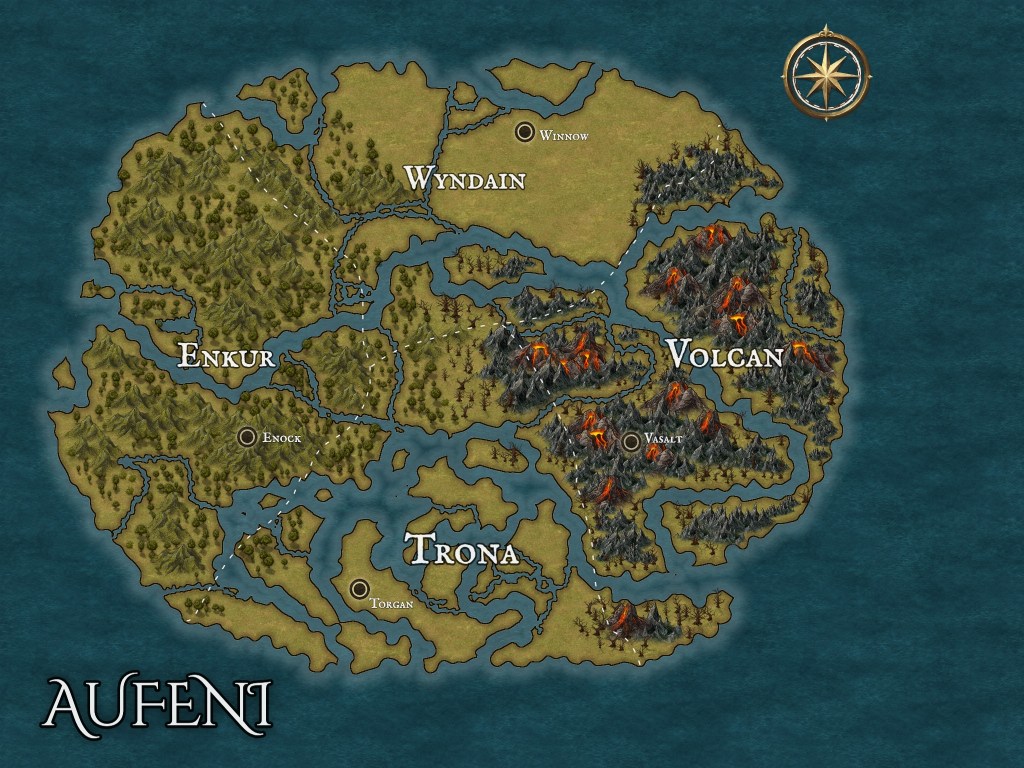
My fantasy novel is set in the center of the Earth, meaning circle. To get the perfect shape I went to the shovel for building and the circle for the shape. I drag and make it as big or small as I need it before clicking paint in.
Say your world is not a perfect shape in your head or on paper. Don’t fret! There is a draw button in the shovel portion too. I struggle to draw with my mousepad so that was fun experience.
Step 7: Personalize World Color or Style
If you are anything like me, you like a bit of color in your life. Okay, okay…maybe not this much color but you get my point. Inkarnate is capable of bringing your colorful (or tan and paper-made) map dreams to life.
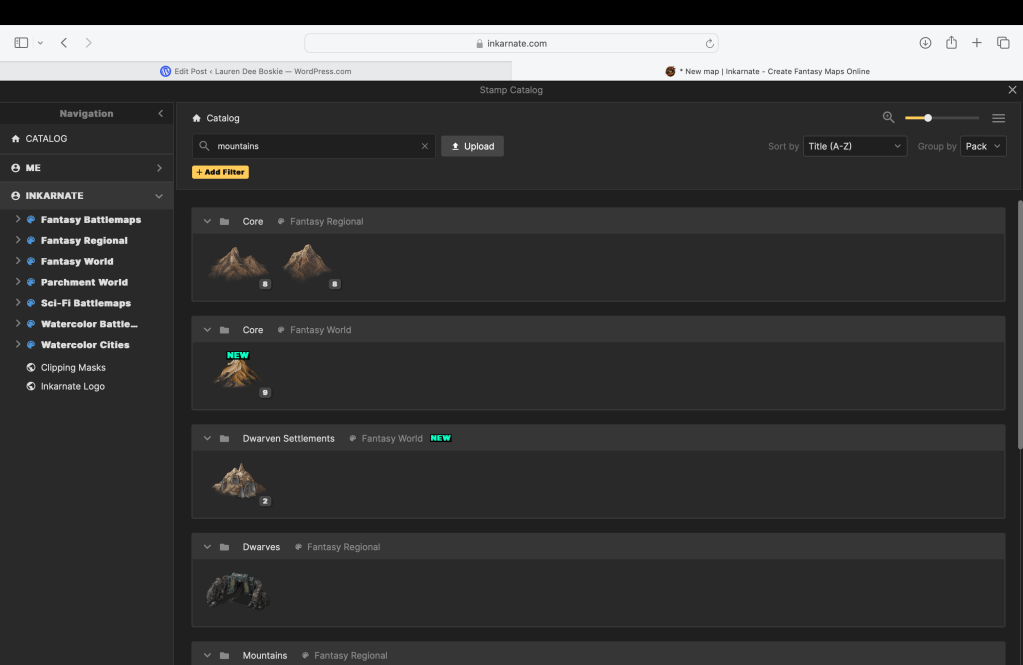
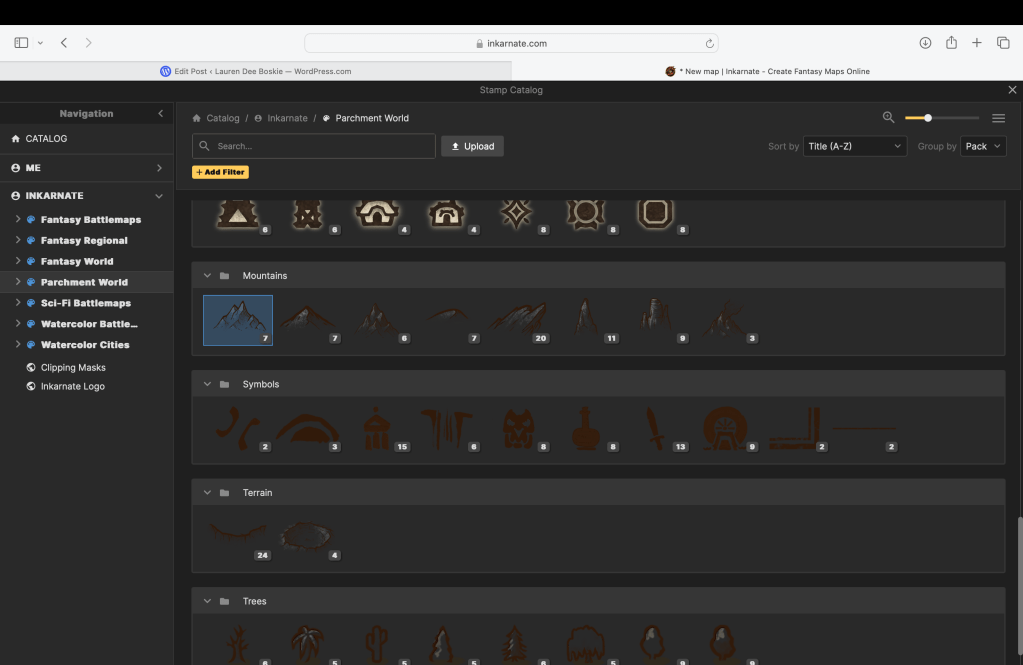
Step 8: Open Stamp Options
Stamp options act as God. How blasphemous of me, I know…hear me out. You type into the search engine what you wish to create, whether it be mountains or goats anything is possible. Find the stamp you like and click on it once. This will bring you back to your map with a stamp in tow and ready to go! Click the map with your mouse and you are adding life to an otherwise boring piece of land.
If you feel limited by the options in your style, Inkarnate lets you branch out into other regions. Click the world INKARNATE under the ME option then do your searching. Be mindful, you may bring in a vibe you do not like. Be thankful too, the website has a great back button arrow.
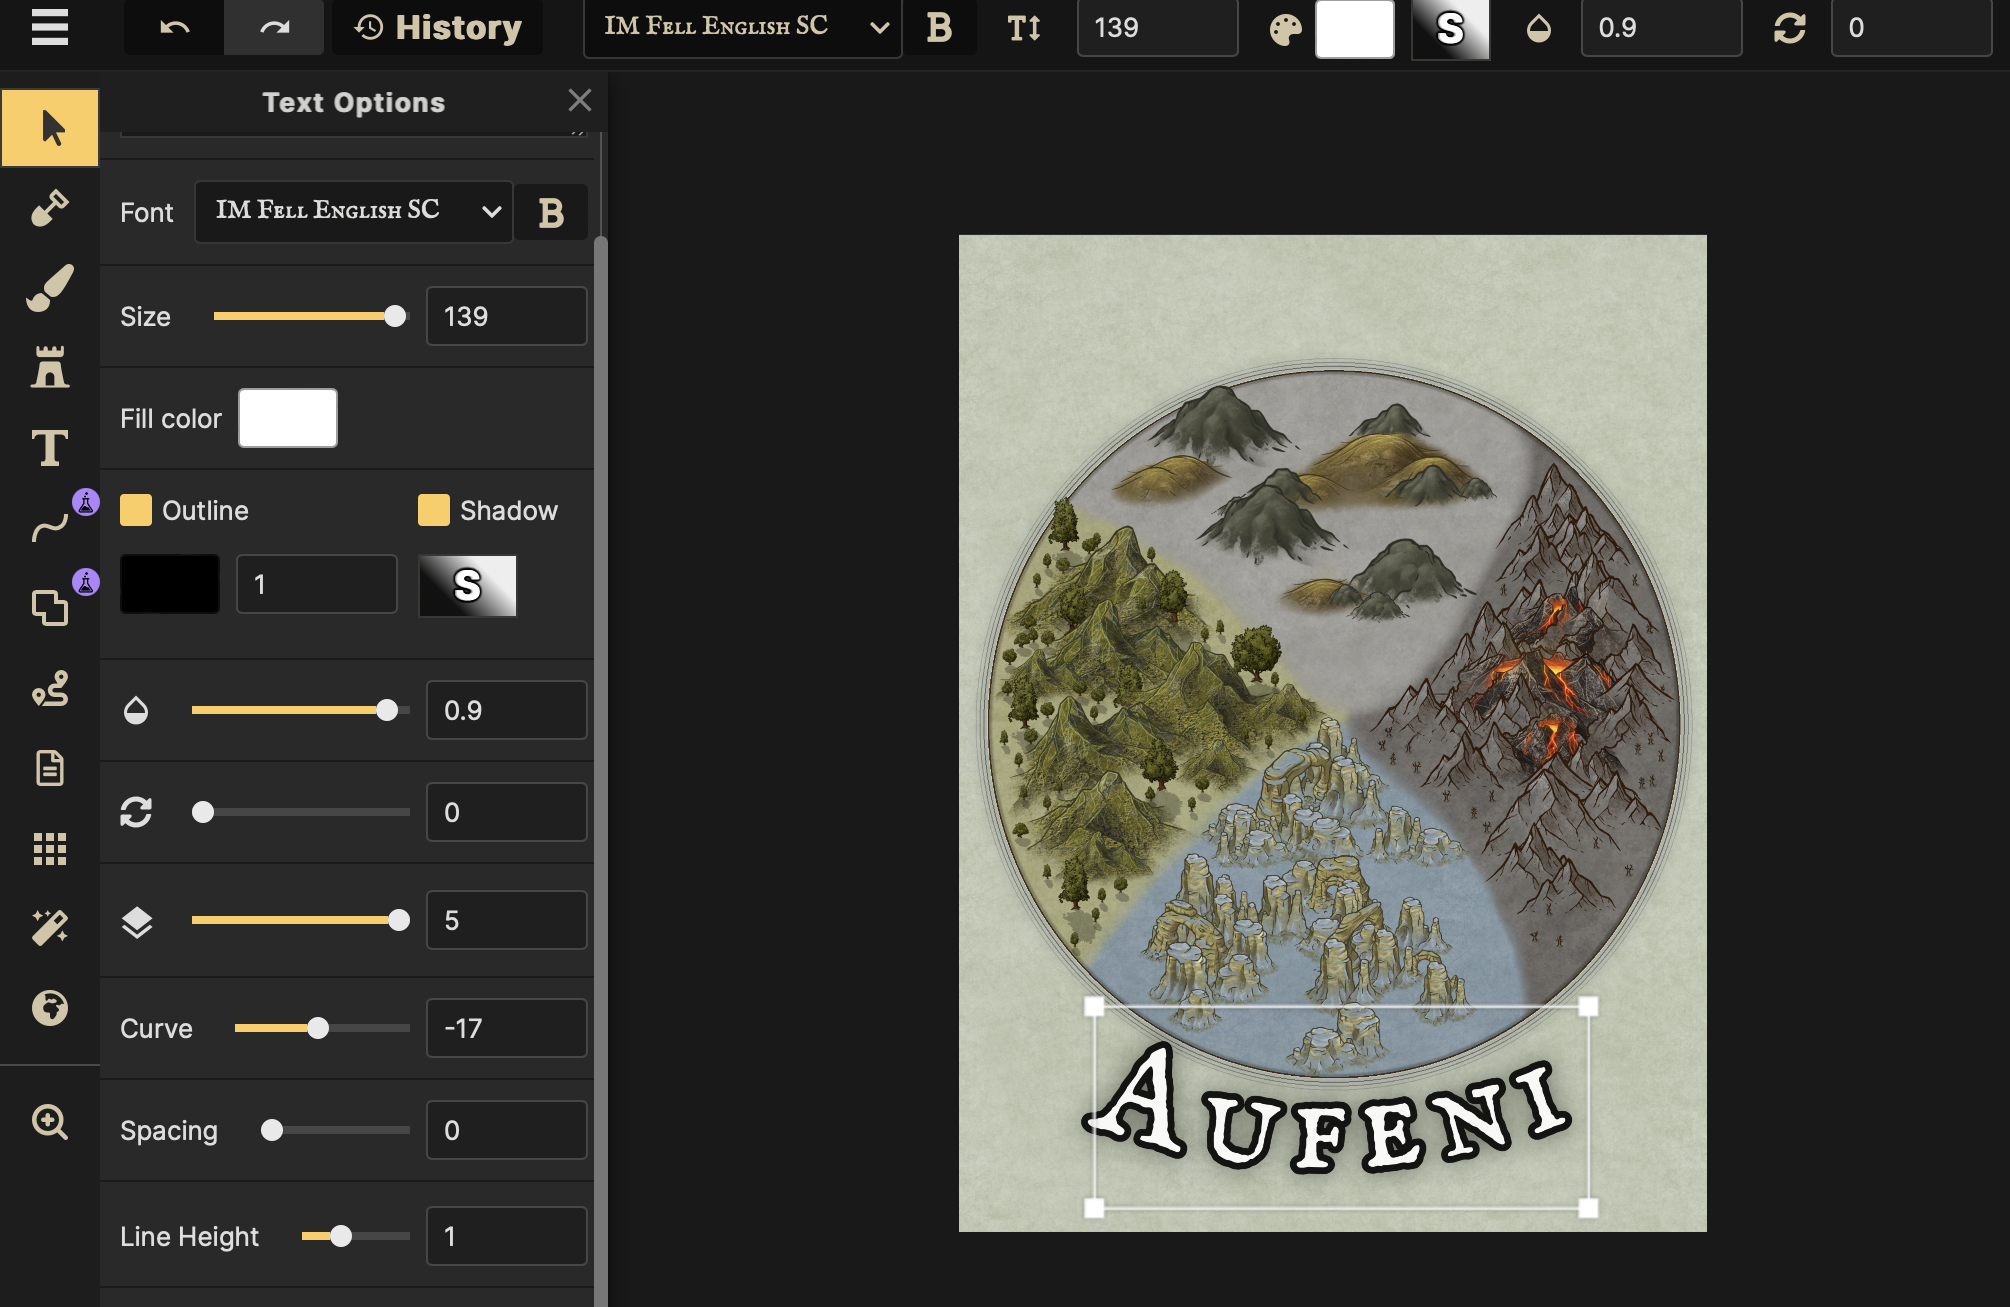
Step 9: Add Text and Detail
The T button will lead you to the Text Options. The settings control the creation of the font, size, shape, color, shadow, outline, spacing, height, and curve for your letters. Text is important for a fantasy map! You need the title of your book and locations (if you plan on including those) prior to adding text.
My first map had no text because I had no yet thought of Aufeni…which if you are curious is derived from AU (gold), FE (Iron), and NI (Nickel) which are included in the center of the Earth’s main components.
Step 10: Locate the Right Panel
Learn to love the right panel. This tool helps you keep track of what you added and still need to add. The objects button will help you find the random tree you accidentally placed prior to adding 17 mountains (you want to keep), 42 palm trees (you also want to keep), and 3 carefully placed castles (keep, of course). When you find the random tree, you can click on the object and delete it from there.

Yay! You read my whole guide. But wait…what was that? You still have no idea what you are doing and need help? Okay, fair.

Leave a comment